Listen up, tech enthusiasts! If you're diving into the world of Raspberry Pi projects, one thing you absolutely need to master is how to SSH to Raspberry Pi remotely. Now, before we get into the nitty-gritty, let me tell you why this is such a big deal. Imagine being able to control your Raspberry Pi from anywhere in the world—no physical access required. Sounds cool, right? Well, buckle up because we're about to take you on a journey that’ll turn you into a remote SSH wizard.
SSH, or Secure Shell, is your golden ticket to securely connecting to your Raspberry Pi from another computer. Whether you're tinkering with a home automation system, setting up a media server, or just trying to show off your tech skills, knowing how to SSH to Raspberry Pi remotely is essential. It's not just about convenience; it's about unlocking the full potential of your tiny but mighty Pi.
Now, I know what you're thinking: "Is this gonna be complicated?" Not at all, my friend! With a little guidance and some coffee (or tea, no judgment here), you'll be SSH-ing like a pro in no time. So, grab your favorite beverage, and let's dive into the wonderful world of remote Raspberry Pi connections. Trust me, by the end of this, you'll be saying, "Why didn't I learn this sooner?"
Read also:Unlocking The Secrets Of Ero Me Oorn A Deep Dive Into Trends Insights And Everything You Need To Know
Understanding SSH: The Basics
Before we jump into the deep end, let's break down what SSH actually is. SSH stands for Secure Shell, and it’s basically a cryptographic network protocol that lets you securely connect to a remote device. Think of it as a secret handshake that allows you to communicate with your Raspberry Pi without anyone eavesdropping. Cool, huh?
Here's the deal: SSH ensures that your data stays safe and secure while traveling across the internet. It encrypts everything you send, so even if someone intercepts your connection, they won't be able to make sense of it. This is especially important when you're SSH-ing to Raspberry Pi remotely because, let's face it, the internet isn't always a safe place.
Why Use SSH for Raspberry Pi?
Alright, so why should you care about SSH when it comes to your Raspberry Pi? Here's the thing: SSH gives you command-line access to your Pi from anywhere. Whether you're across the room or across the globe, you can manage your Pi as if you were sitting right in front of it.
- It’s secure—no one can snoop on your connection.
- It’s efficient—you don’t need a full desktop environment to manage your Pi.
- It’s flexible—you can automate tasks, transfer files, and even run scripts remotely.
And let’s not forget, SSH is free! You don’t need to spend a dime to set this up. So, if you're looking for a cost-effective way to control your Raspberry Pi, SSH is your best bet.
Setting Up SSH on Your Raspberry Pi
Now that you know what SSH is and why it's awesome, let's talk about how to set it up on your Raspberry Pi. Don’t worry, it’s not as scary as it sounds. In fact, it’s pretty straightforward once you get the hang of it.
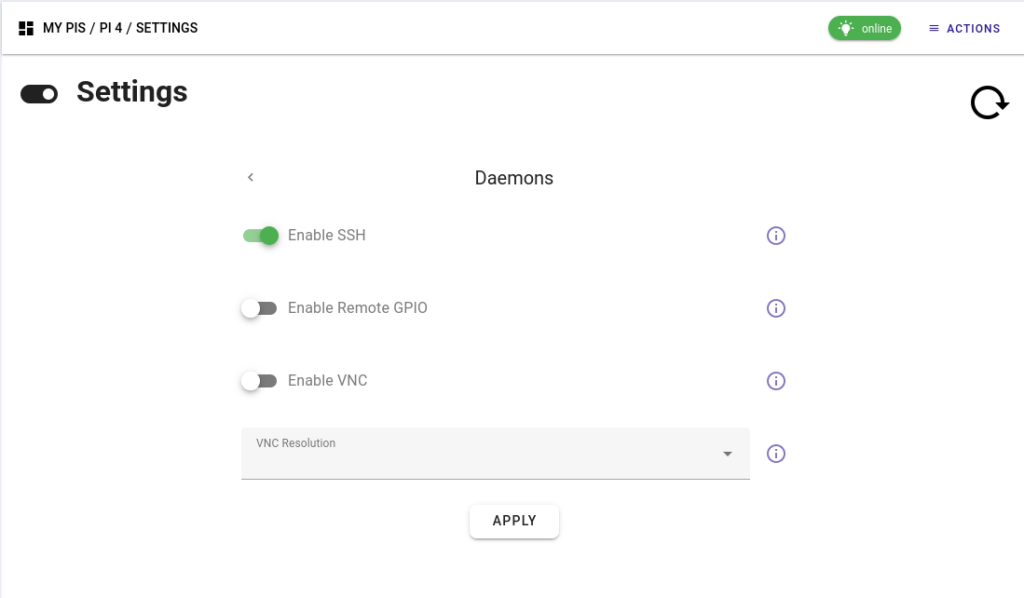
Enabling SSH on Raspberry Pi OS
The first step is to enable SSH on your Raspberry Pi. If you’re using Raspberry Pi OS, this is super easy. Just follow these steps:
Read also:Debbie Depp Unveiling The Life Legacy And Untold Stories
- Boot up your Raspberry Pi and log in.
- Open the terminal. Yeah, you’re gonna get your hands dirty with some commands, but don’t freak out—it’s fun!
- Type
sudo raspi-configand hit Enter. - Use the arrow keys to navigate to "Interfacing Options" and hit Enter.
- Select "SSH" and enable it. Done! SSH is now ready to roll.
See? I told you it wasn’t that hard. Now your Raspberry Pi is ready to accept SSH connections. But wait, there’s more!
Connecting to Raspberry Pi Remotely
Alright, so you’ve enabled SSH on your Raspberry Pi. What’s next? It’s time to connect to it remotely. This is where things get exciting. Imagine being able to control your Pi from your laptop, phone, or even a tablet. Sounds like magic, right? Well, it’s not—it’s SSH!
Using an SSH Client
To connect to your Raspberry Pi remotely, you’ll need an SSH client. If you’re on a Mac or Linux machine, you’re in luck because SSH is already built in. Just open the terminal and type:
ssh pi@your-pi-ip-address
For Windows users, you’ll need to download an SSH client like PuTTY. Don’t worry, it’s free and easy to use. Once you’ve installed it, just enter your Raspberry Pi’s IP address, and you’re good to go.
Securing Your SSH Connection
Now, here’s the thing: SSH is secure, but that doesn’t mean you can slack off on security. You want to make sure your connection is as safe as possible, especially if you’re SSH-ing to Raspberry Pi remotely. Here are a few tips to keep your setup locked down:
- Change the default password for the "pi" user. Yeah, "raspberry" is easy to remember, but it’s also easy for hackers to guess.
- Use a strong, unique password. Seriously, don’t use "123456" or "password." Come on, we can do better than that.
- Consider using SSH keys instead of passwords. They’re more secure and way cooler.
By following these tips, you’ll make sure that your Raspberry Pi stays safe and secure, even when you’re controlling it from afar.
Setting Up SSH Keys
SSH keys are like digital keys that let you unlock your Raspberry Pi without needing a password every time. Here’s how to set them up:
- On your local machine, open the terminal and type
ssh-keygen. - Follow the prompts to generate your key pair. You can leave the passphrase blank if you want, but it’s a good idea to add one for extra security.
- Copy your public key to your Raspberry Pi by typing
ssh-copy-id pi@your-pi-ip-address. - That’s it! Now you can connect to your Pi without needing a password.
SSH keys might seem a little complicated at first, but trust me, they’re worth it. Once you’ve set them up, you’ll wonder how you ever lived without them.
Troubleshooting Common SSH Issues
Even the best of us run into problems sometimes. If you’re having trouble SSH-ing to your Raspberry Pi, don’t panic. Here are a few common issues and how to fix them:
- Connection Refused: Make sure SSH is enabled on your Raspberry Pi and that your IP address is correct.
- Permission Denied: Double-check your username and password. If you’re using SSH keys, make sure they’re set up correctly.
- Timeout: Check your network connection and make sure your Raspberry Pi is online.
If none of these solutions work, don’t hesitate to reach out to the Raspberry Pi community. There are tons of helpful people out there who are more than happy to lend a hand.
Using Port Forwarding
One common issue when SSH-ing to Raspberry Pi remotely is accessing it from outside your local network. This is where port forwarding comes in. By setting up port forwarding on your router, you can allow external connections to reach your Raspberry Pi.
Here’s how to do it:
- Log in to your router’s admin panel.
- Find the port forwarding settings and add a new rule.
- Set the external port to 22 (the default SSH port) and the internal IP address to your Raspberry Pi’s address.
- Save the changes and test your connection.
Port forwarding might seem a little daunting, but it’s a powerful tool that opens up a whole new world of possibilities for your Raspberry Pi projects.
Advanced SSH Techniques
Once you’ve mastered the basics, it’s time to take your SSH skills to the next level. Here are a few advanced techniques to help you become an SSH master:
- SSH Tunnels: Use SSH to securely tunnel traffic between your local machine and your Raspberry Pi.
- SSH Config Files: Simplify your connections by setting up a config file with all your SSH settings.
- SSH Port Forwarding: Forward specific ports to your Raspberry Pi for even more flexibility.
These techniques might sound a little intimidating at first, but with a little practice, you’ll be using them like a pro in no time.
SSH Tunnels Explained
SSH tunnels are like secret passageways that let you securely transfer data between your local machine and your Raspberry Pi. Here’s how to set one up:
- Open the terminal and type
ssh -L local_port:destination:destination_port pi@your-pi-ip-address. - Replace "local_port," "destination," and "destination_port" with the appropriate values for your setup.
- Now you can access the destination service as if it were running locally.
SSH tunnels are incredibly useful for everything from accessing web servers to running remote desktops. Once you’ve tried them, you’ll wonder how you ever lived without them.
SSH to Raspberry Pi Remotely: Final Thoughts
Well, there you have it! You’ve learned how to SSH to Raspberry Pi remotely, and you’re now equipped with the knowledge to take your projects to the next level. Whether you’re setting up a home automation system, running a media server, or just tinkering around, SSH is your secret weapon.
Remember, security is key when it comes to remote connections. Always use strong passwords, consider SSH keys, and don’t be afraid to use port forwarding to make your life easier. And if you ever run into trouble, don’t hesitate to ask for help. The Raspberry Pi community is full of awesome people who are more than happy to lend a hand.
So, what are you waiting for? Go out there and start SSH-ing! And don’t forget to share your experiences in the comments below. We’d love to hear about your Raspberry Pi adventures.
Table of Contents